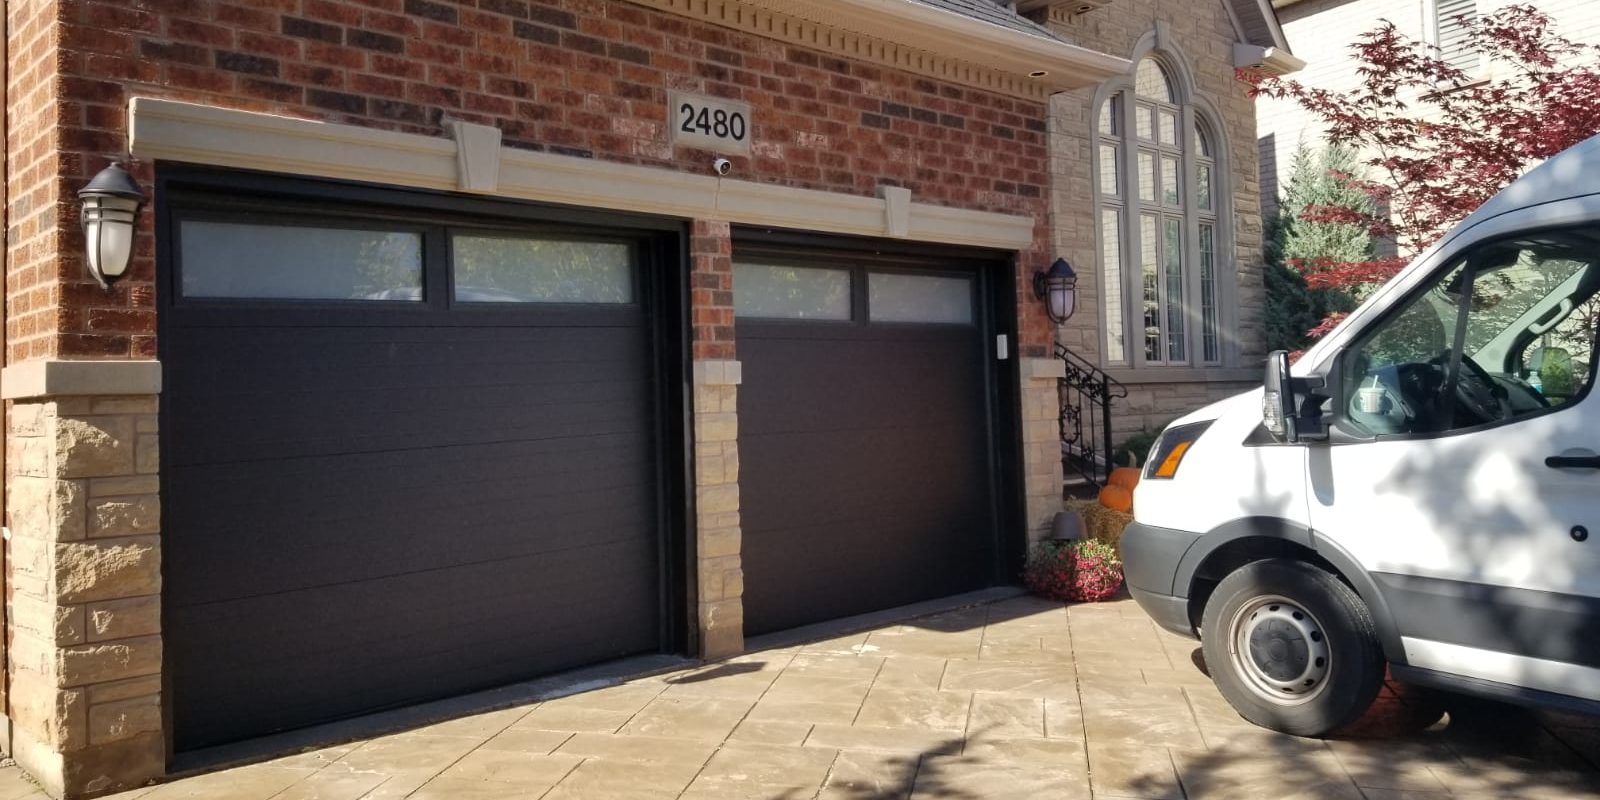
There’s an array of DIY projects one can take on, from planting a garden to installing a new faucet. But one of the most rewarding projects a homeowner can tackle is fixing their own garage door. It’s a joyful DIY adventure that leads to a feeling of accomplishment and pride. It’s time to get ready, set, fix-it!
Ready, Set, Fix-It!
Getting ready for a project can be just as exciting as the project itself. Find out what’s wrong with the garage door and research the solutions available. Check out videos, diagrams, and user manuals to give yourself a better understanding of the components of the garage door system and how they should be working together.
Gather the proper tools and materials to make this project a success. A basic toolbox includes a hammer, screwdriver, utility knife, drill and drill bits, measuring tape, and wire strippers. It’s also helpful to have a stepladder, flashlight, and safety glasses.
Now that the groundwork is laid out, pick the best time to start. On the weekend, the family is available to help out and the weather is more cooperative. The pleasant sunshine of a bright day is the perfect backdrop for the DIY adventure.
Assemble all of the tools, materials, and supplies for the project in an organized way. Whether it’s on the kitchen table, the workbench in the garage, or the bedroom floor, having everything at arm’s reach makes the project go much smoother.
A Grand Adventure Ahead
Before starting, make sure the power to the opener is turned off. If the garage door is operated by a remote, take the extra step of removing the batteries from the device and store it in a safe place.
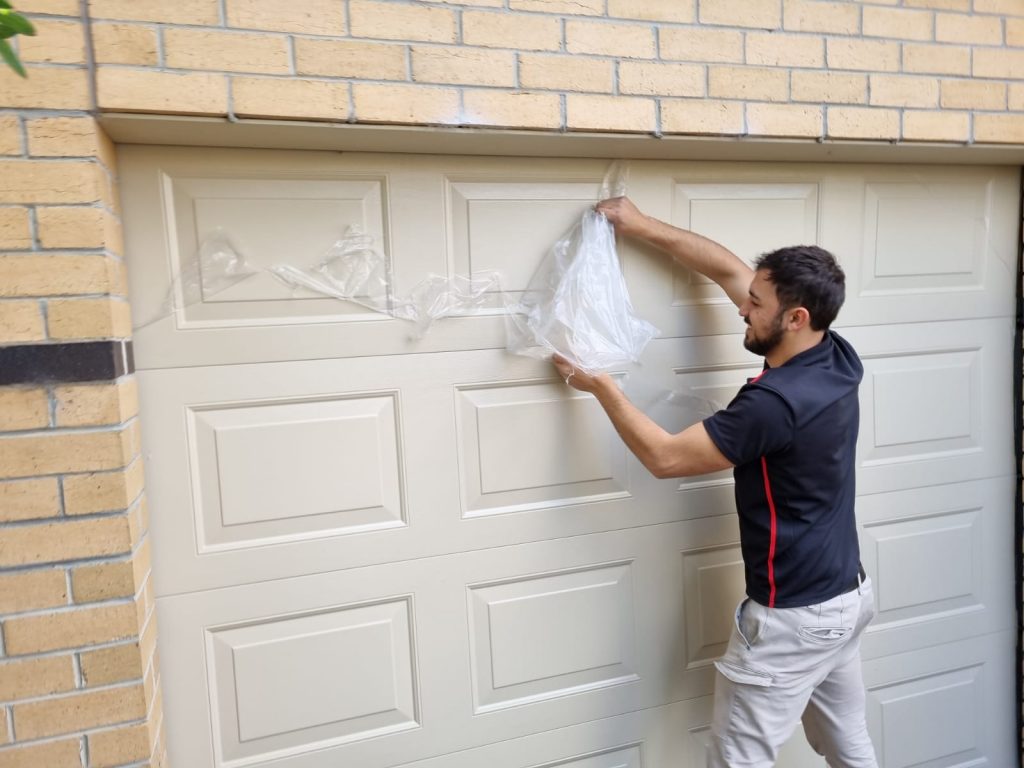
Now, it’s time to get going on the project! Start by thoroughly cleaning the garage door, paying special attention to the moving parts. Follow up with a good lubrication of all the parts that need it. Make sure to use lubricant meant for garage door systems.

Look at the door to make sure all the hardware is secure and none of the rollers are damaged. Depending on the model, the door panels may need to be taken off to replace the rollers. If the weatherstripping is frayed and cracked, it’s time to replace it as well.
Gearing Up for the Job
Take out the guesswork by verifying the door’s weight. If the door is too heavy, the opener may struggle to open and close it. This can cause problems with the springs and cables, and lead to expensive repairs.
Now that the necessary prep work is completed, it’s time to put on the safety vest and gloves. The safety glasses are also a must.
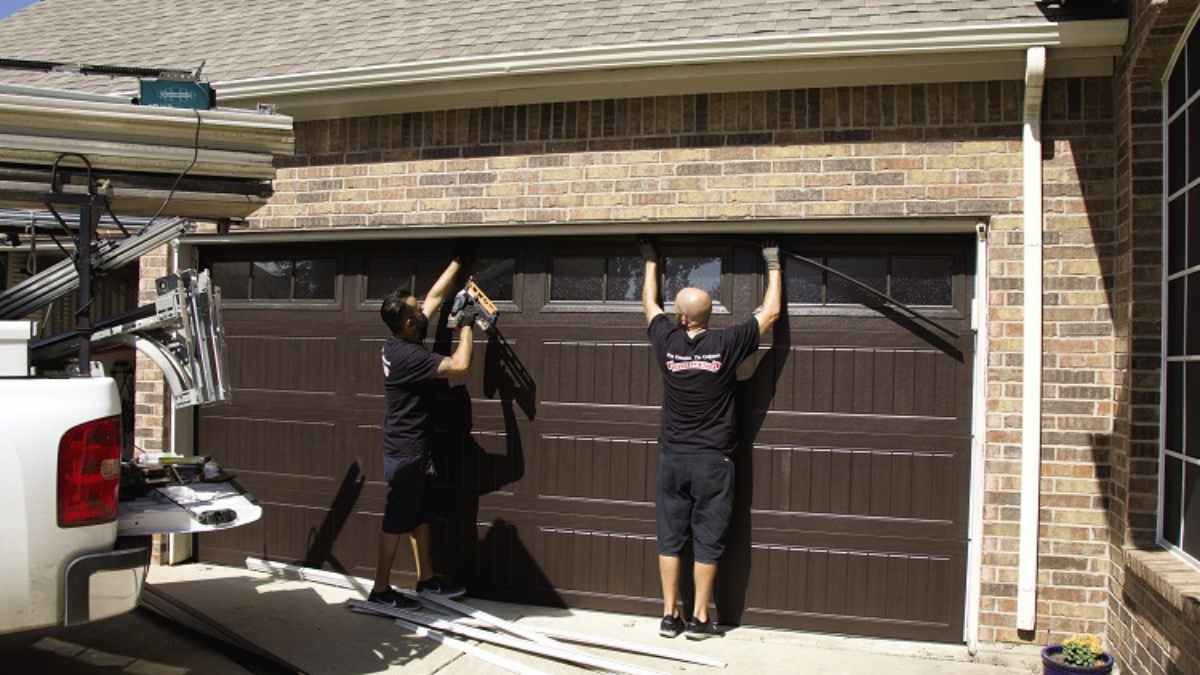
Unplug the power to the opener and make sure it’s off. Now, it’s safe to start taking the door off the track. Be sure to handle the door properly and keep track of the bolts, nuts, and screws.
Getting Crafty with Tools
Ready the tools needed for the job. If replacing the door springs, use winding bars to hold the coils and the socket wrench to tighten the bolts. If the cables are damaged, use a pair of wire cutters to replace them.
For replacing the rollers, use a hex head screwdriver and a pair of pliers. The nuts and bolts that hold the opener in place will require a socket wrench.
When working on the weatherstripping, carefully measure the door to make sure the new weatherstripping is the correct size. Cut the strips to the desired length and make sure the adhesive sticks properly.
Taking On the Challenge
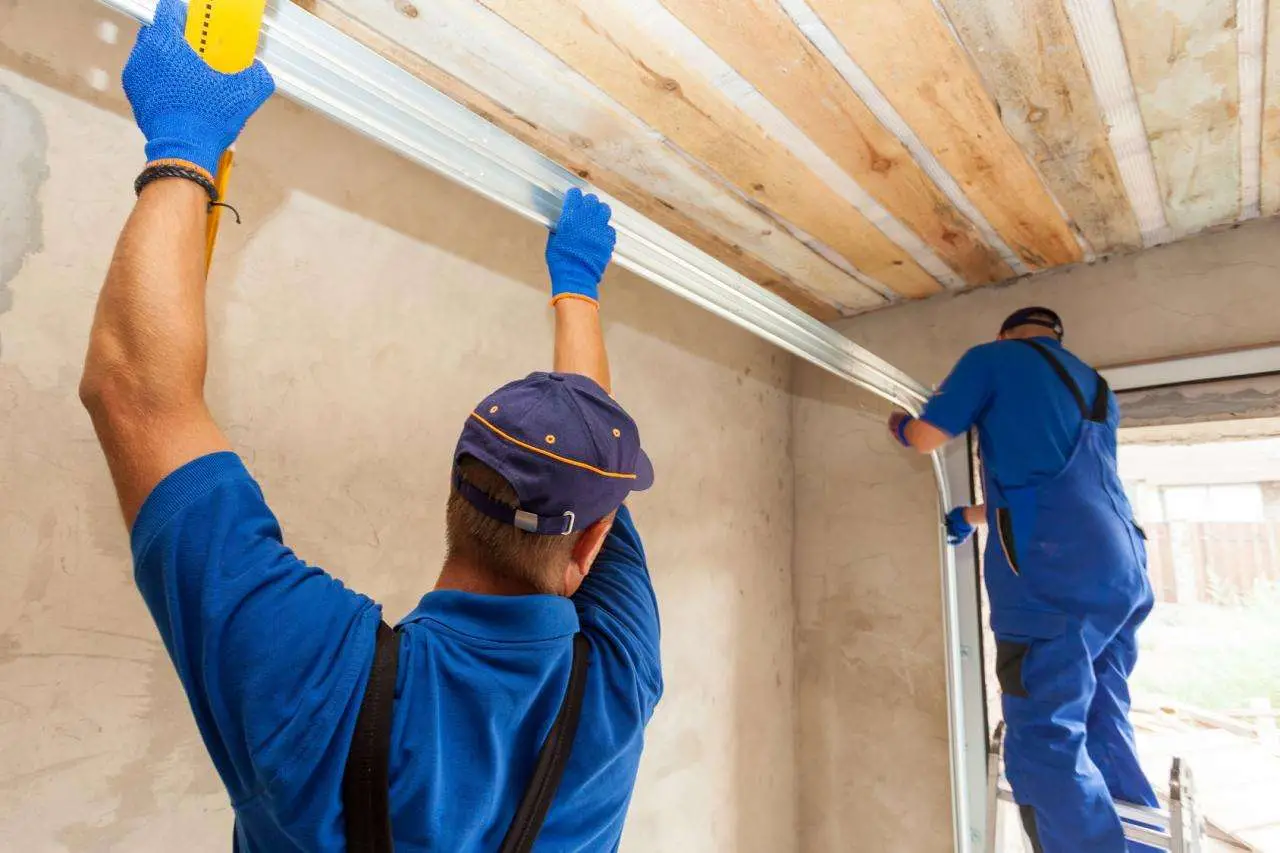
Start putting the door back together, starting with the roller tracks. Make sure they are perfectly aligned and secure the rollers in place. Tighten all the bolts and screws to make sure everything is in place.
Reattach the weatherstripping around the door and make sure the adhesive is sticking properly. Be sure to leave some slack at the corners to make sure the door can open and close properly.
Now, plug in the power to the opener and test it out. If the door is making any strange noises, it could be time to call a professional to take a look.

DIY Joy: Garage Door Fixed!
Ah, the feeling of accomplishment! After taking on the challenge, the garage door is now working like a charm. What a successful project!
This DIY venture was a great way to save money and spend a lovely weekend with the family. It was also a great bonding experience, learning together how to fix the garage door.
So don’t be afraid to take on a project like this. It’s a great way to learn something new and gain confidence in tackling projects around the house. With the right preparation and determination, the fun of a DIY adventure awaits!